550M HVAC Panel Installation
Here is a fantastic "how to" guide for the installation of our 550M HVAC overlay panel. Reprinted with permission from FerrariChat.com.
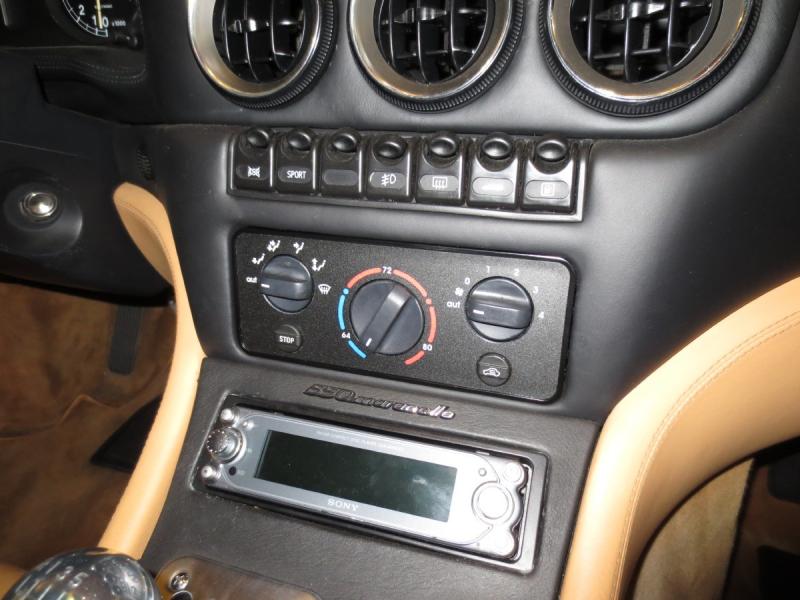
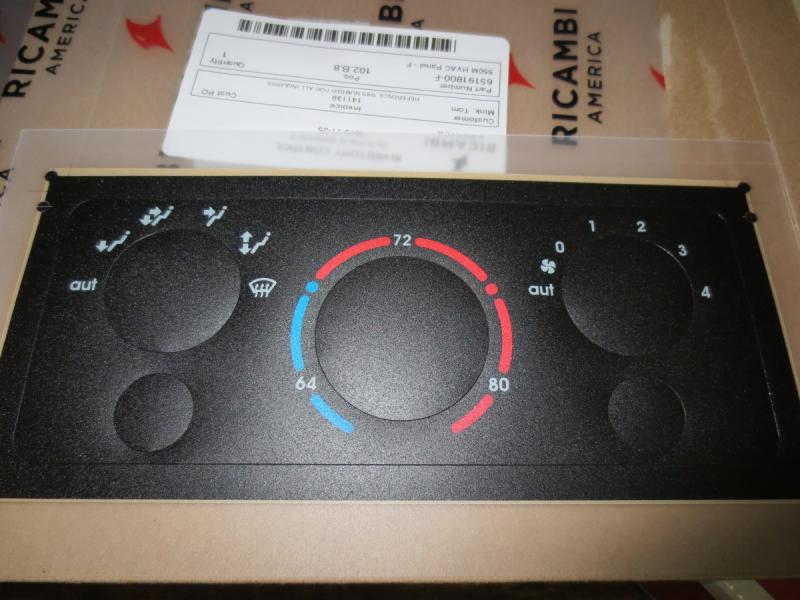
Like many of you, my 550 HVAC unit was looking pretty sorry for itself - delaminating, warping, etc. My original was pretty sorry-looking, so I had nothing to lose. Some pics of my starting point and the new part from Ricambi:
-
First, remove the unit from the dash. It just pops out, no screws or clips to hold it in. Make sure you remember where each knob is pointing - they are keyed to the shafts so it will make it a lot easier if you pre-align them for re-assembly.
-
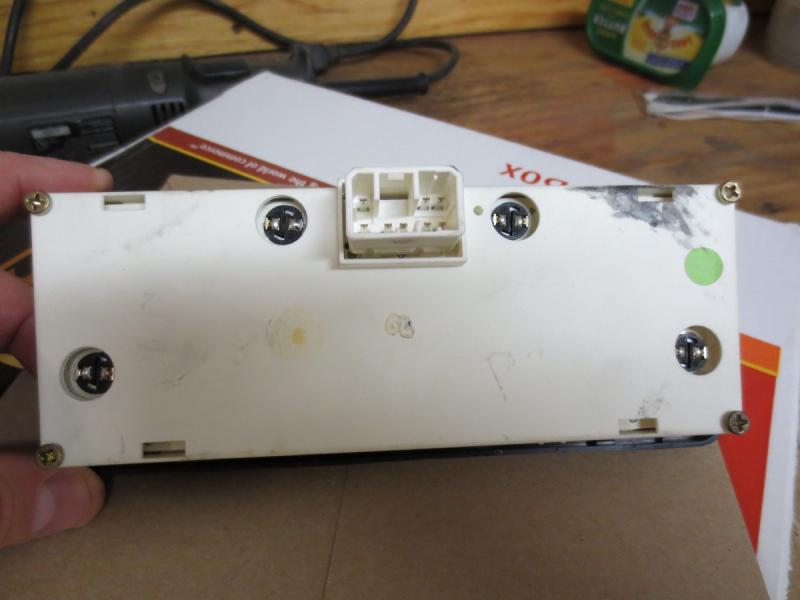
Flip it over and remove the 4 Phillips head screws (one at each corner).
-
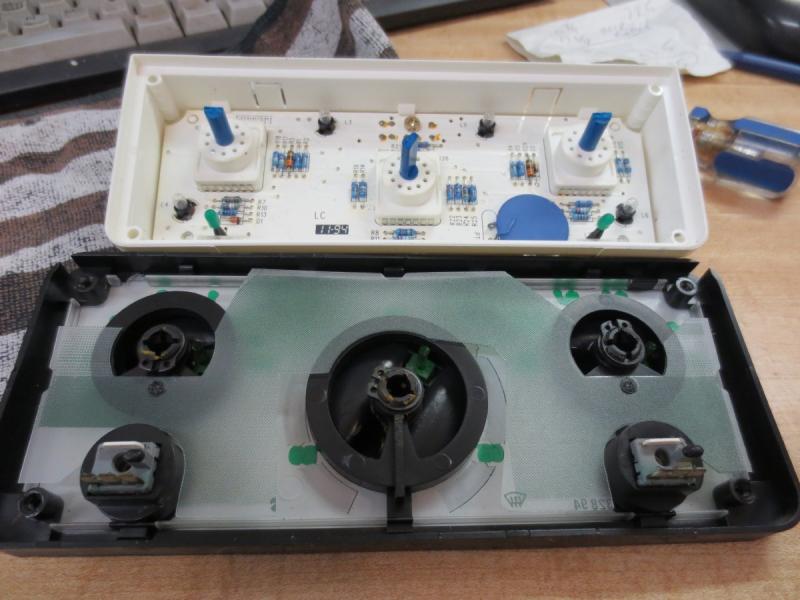
Pull the front half carefully away from the back half. Those 4 screws are all that hold them together - after they are removed, you're just pulling the knobs off of the shaft and the connectors from the push-buttons.
-
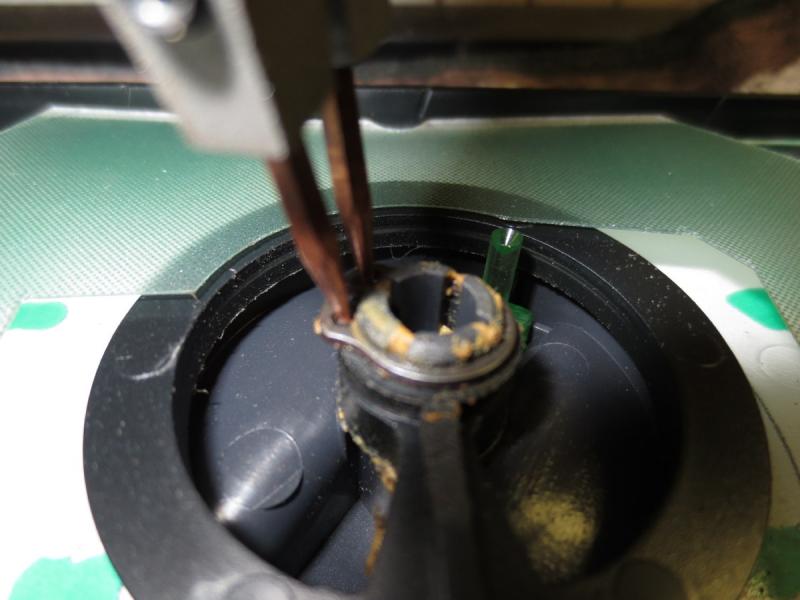
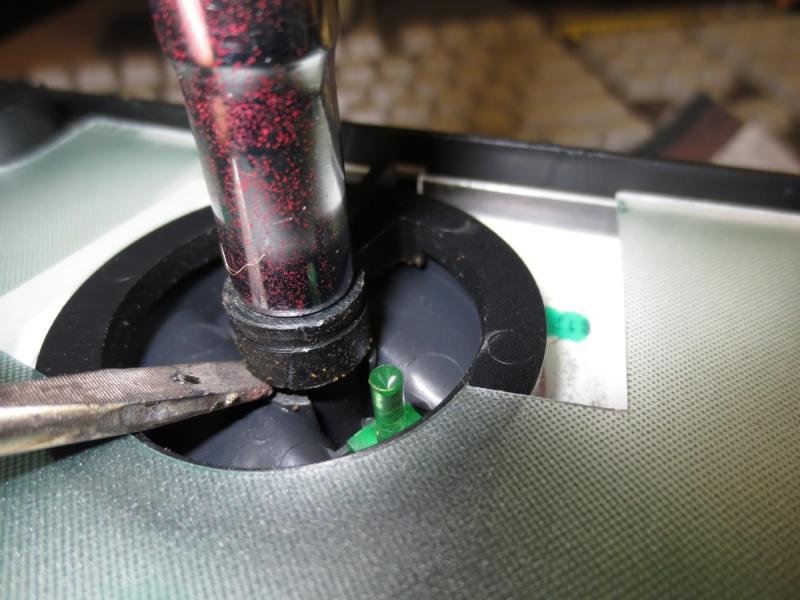
I removed the smaller two knobs first. Remove the circlip with snap-ring pliers and then push the knob out of the fascia. I used a 7mm deep socket to squeeze and push the back of the knob to allow for removal.
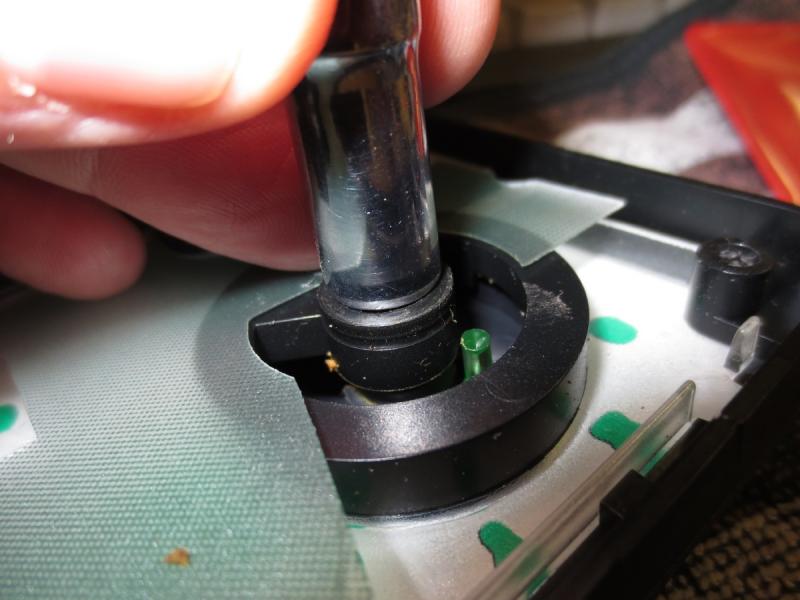
-
The large center knob is removed the same way, but the attachment is much flimsier than the outer two. It would be VERY easy to break if you don't support it. I used a screwdriver to apply upward force on the boss while I pushed the knob through with the small socket. Whew!
-
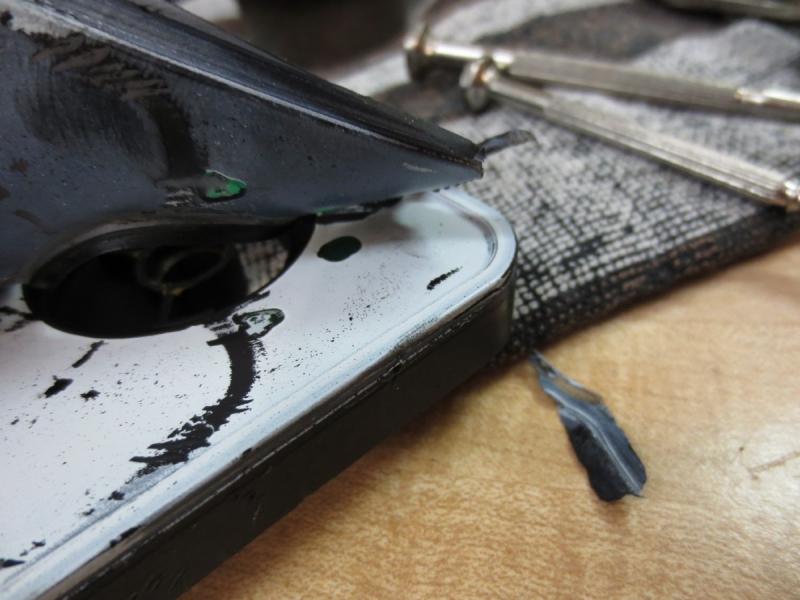
Pop out the two pushbuttons for recirc and A/C. There are two small tabs on each one. I used a tiny jeweler's screwdriver to pop them out.

-
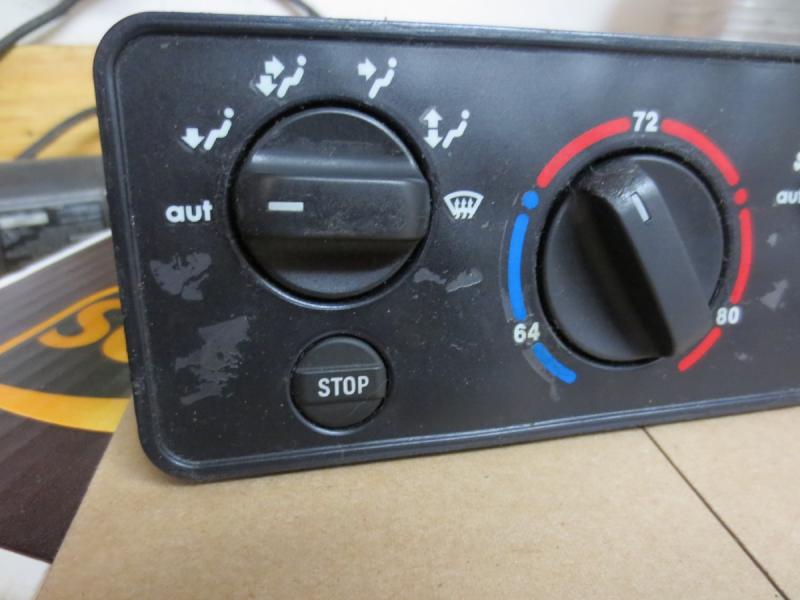
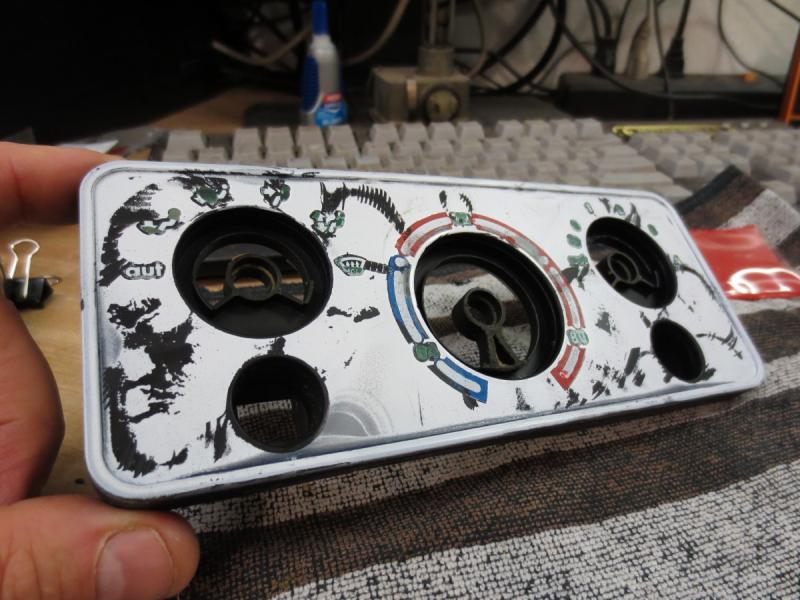
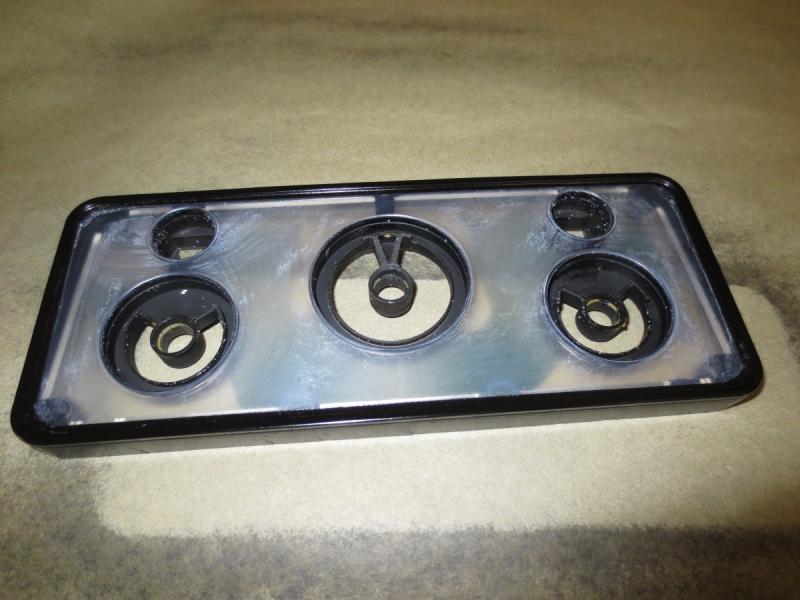
Now you can peel the original cover off. Since the original overlaps the edges, you will need to do some painting later.
This is what it looks like with the cover off:
-
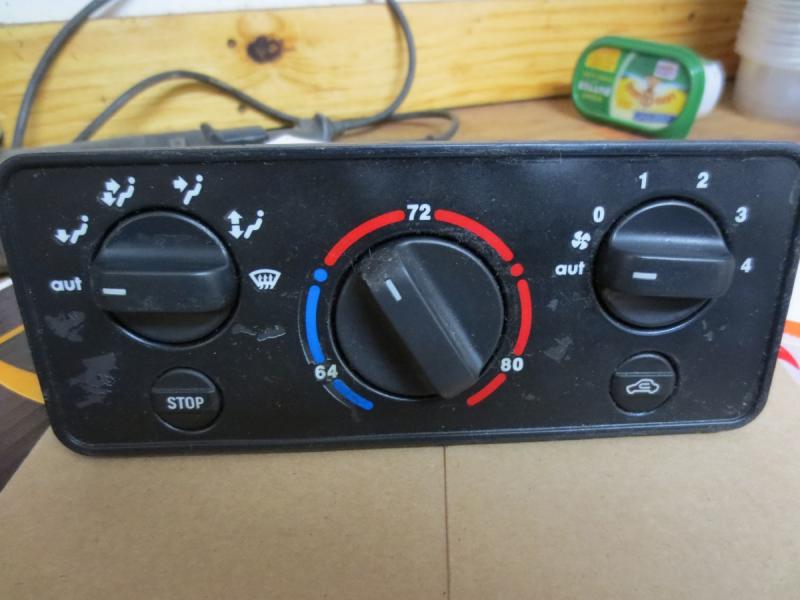
Clean. If you've ever removed sticky surfaces from your switches, you know what to do. I used a combination of carb cleaner, brake cleaner, and panel wipe to get the surface ready. This is what it'll look like when you're done.
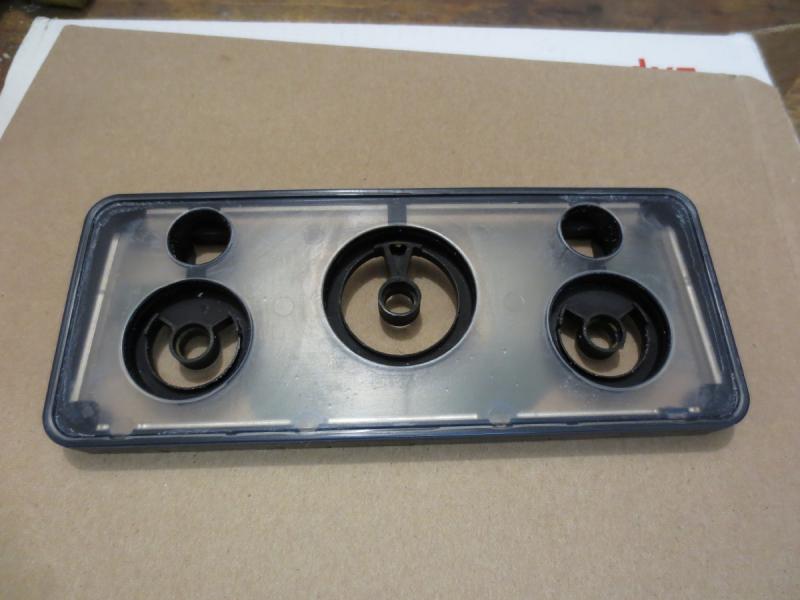
You can see that the outer edge is clear plastic, so you'll need to paint.
-
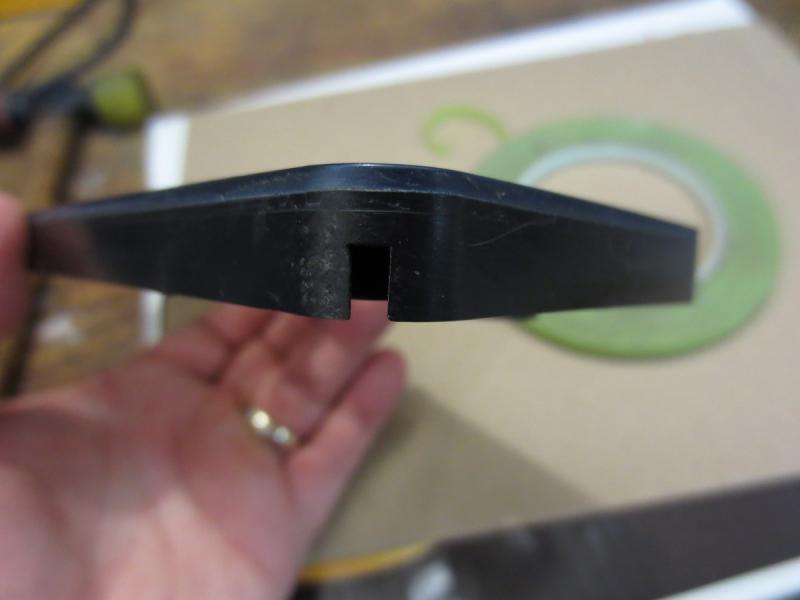
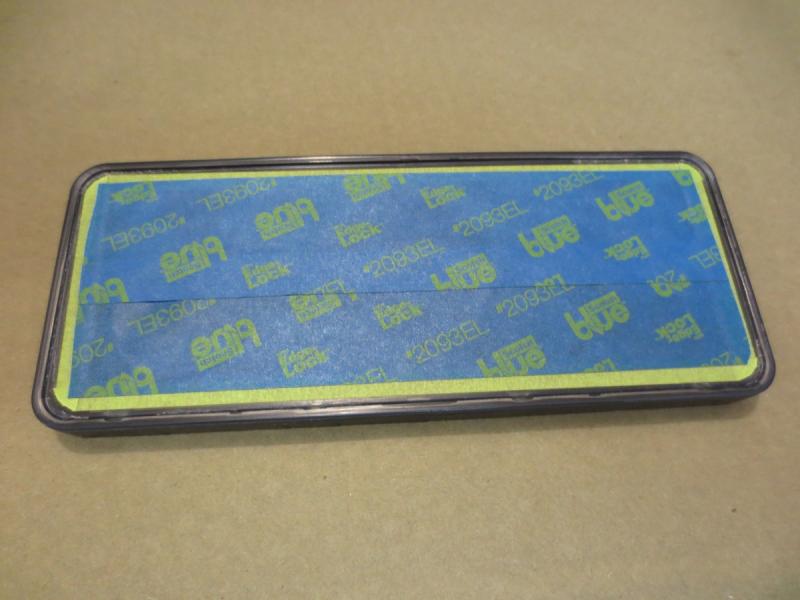
Mask the edges ready for paint. and just paint the edges. The clear plastic in the body of the control until must remain clear for nighttime illumination.
-
Paint. I used semi-gloss back, but I might use flat black if I were to do another one.
-
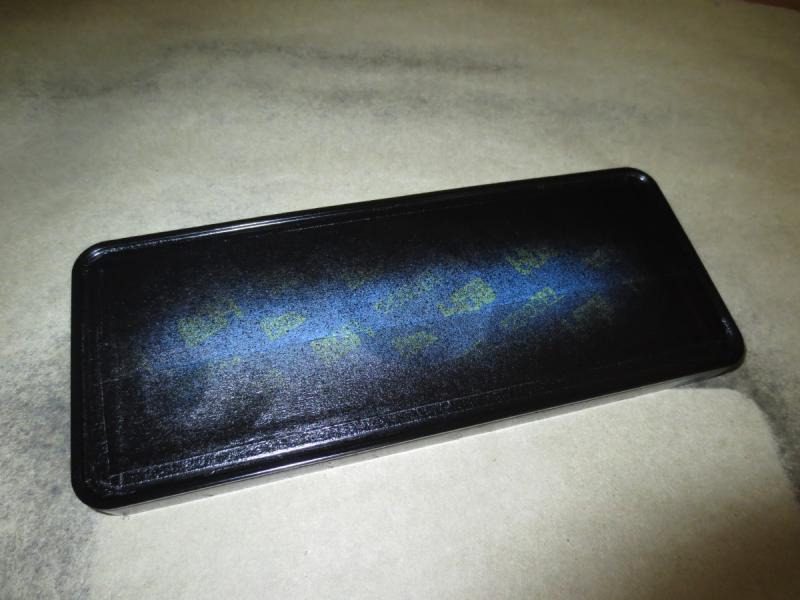
When the paint dries, unmask.
-
Remove the adhesive backing from the new fascia and carefully apply it to the panel. I lined up the bottom edge first and slowly stuck it down.

-
The rest of reassembly is the reverse of the tear-down. I used a tiny bit of grease on the knob shafts and reinstalled the snap rings. Make sure you align the knobs with the shafts and then carefully put the two halves back together and replace the 4 screws.
-
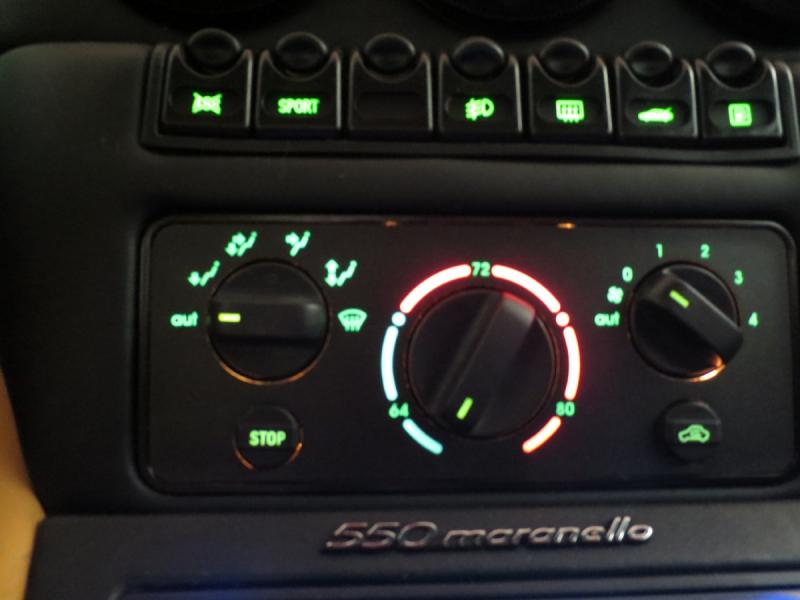
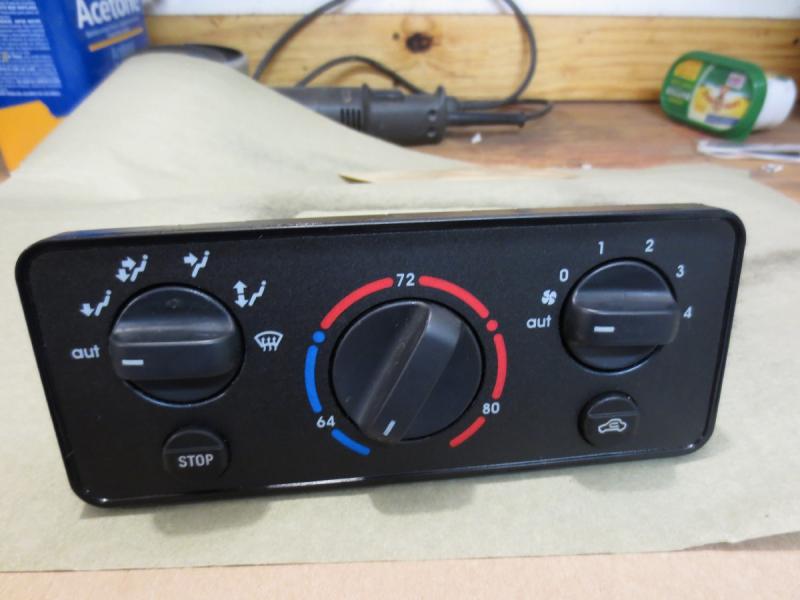
Done! My knobs were in decent condition so I didn't mess with them, I just cleaned and reinstalled them.